

Concrete Driveway Power Washing
Concrete Driveway Power Washing
Has your concrete driveway seen its better days? Do your sidewalks have stains on them? Just like your home’s siding, roof, and patio furniture, dirt, dust, stains, pollen, and grime can also build up on your concrete driveway. If left untreated, the concrete can start to deteriorate. Concrete driveway power washing is the easiest way to clean concrete, but it needs to be done correctly.
Having dirt and grime buildup on your concrete driveway is not only annoying, unsightly, and unpleasant but it can weaken your driveway’s surface too. Since dirt, grime and stains accumulate over time, you should ensure you clean your concrete driveway regularly to keep it in good condition.
If power washing your concrete driveway is something you’re contemplating doing for the first time, here are the crucial steps to take.
Steps to Power Wash Your Concrete Driveway
-
Remove All Items From The Driveway
It seems obvious but it needs to be said. If there is a car parked that is rarely driven, it can be tempting to leave it in place. To get the best possible power washing for your driveway, you need to move any vehicles, toys, plants, or other clutter. This protects your valuables from damage from high-pressure washing and allows you to spray every inch of the surface.
-
Assemble Needed Equipment, Cleaning Solution, and Safety Gear
You have got the pressure washer, what else do you need, right? Not exactly. In addition to the broom, dustpan, and cleaning solution, you will always want to make sure you grab safety items.
Be sure to wear closed-toe shoes when power washing as high-pressure streams of water are not gentle on the toes. Wear goggles when spraying the solution, so it does not make contact with your eyes.
It is also important to wear a mask when spraying; you don’t want to inhale the detergent. Lastly, gloves are critical to avoid the chemical coming into contact with your skin and causing irritation or a burn.
-
Clear Debris and Dirt from Surface
Dust, dirt, small rocks, fungal growth, leaves, seeds, twigs, and other plant foliage can all collect on your driveway. Even though you’re going to be pressure washing the surface, you should still sweep the debris off before you get started.
Clearing debris and items from the surface of your driveway is the first step in preparing the cleaning area for power washing. Use a broom or a leaf blower to clear dirt and cover your walls and doors with painter’s tape or a tarp.
-
Degrease the Surface
Use a spray degreaser to get rid of the stains on the concrete. If your pressure doesn’t have an attachment for applying the grease, consider scrubbing into the concrete with a push broom or a bristled brush.
-
Prepare Your Pressure Washer
Since each pressure washer is different, read and follow the setup instructions in the manual. Pressure washing can cause substantial damage, so test it out on a separate area before you start your concrete driveway power washing.
This means attaching the pressure washer hose and wand to the machine itself. Connect your garden hose to supply the water and make sure the water is turned on. Add the detergent tube provided with the device into the soap container.
-
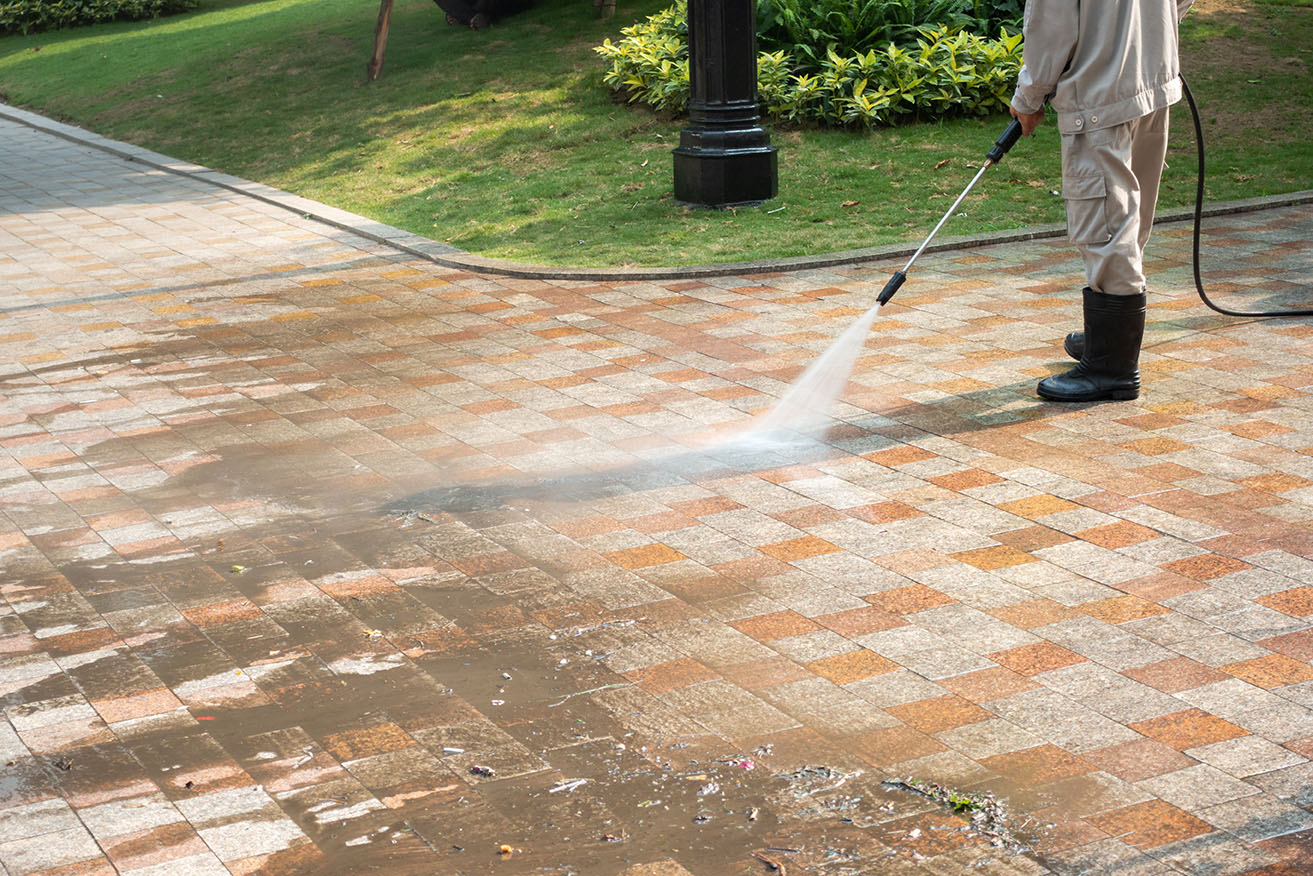
Clean the Concrete
Change the tip labeled “soap” to the tip labeled “25 degrees.” Hold the spray wand down and pressure wash side-to-side across your driveway. Overlap each movement by a few inches to thoroughly clean the area.
Power washing concrete by holding down the spray handle, working your way back and forth from one side of the concrete surface to the other, overlapping each stroke by 6 to 8 inches. For tougher stains such as paint, hold the tip 3 to 4 inches from the concrete surface, moving with slower, nearly still strokes to ensure removal.
An excellent method to prevent microorganisms such as mold, mildew, and bacteria, as well as grime and the slippery surfaces it brings, is to utilize a fungicide detergent solution when spraying.
Doing so kills the mold spores as well as other bacterial and fungal organisms that live on your concrete, whether it be your driveway, sidewalks, or concrete patio pad. Without a mold prevention solution, your concrete will appear clean, but it will not stop the fungal growth, and this invader will return vigorously.
The warnings on machines can seem dramatic, but pressure washers can do a lot of damage to people, pets, and property. Hold the sprayer about twelve inches from the surface to get the most pressure without causing damage. Resist the temptation to spray your legs off, rinse off your car, or play a prank when you’re finished.
-
Rinse the Concrete
Replace the black soaping nozzle with the green rinsing nozzle. Press and hold the spray handle and move back and forth along the length of the driveway to remove the cleaning solution. Be sure to hold the pressure washer wand 12-20 inches from the surface, similar to the way it is positioned when using a cleaner.
If harder stains such as paint are still present, move the nozzle three to four inches closer to the area. Continue to move the nozzle back and forth, but slowly to allow more time for the water pressure to flush away the stain. Once done, allow the surface to dry.
-
Seal the Surface
To prevent serious staining and damage in the future, apply a coat of waterproof sealer to the driveway. To prevent serious staining and damage in the future, apply a coat of waterproof sealer to the driveway. You can start by pouring the sealer into a large paint tray.
Using a rolling paintbrush and extension, dip it into the paint tray to cover its entire surface. Now, starting from the center of the driveway, spread the sealer from the center to the edge of the concrete.
Allow the sealer to dry on the concrete driveway for at least 24 hours before you can use it again. And there you have it, a beautiful, clean, and protected concrete driveway!
Importance of Sealing Your Driveway After Power Washing
While it is not necessary to seal your driveway, it can protect the pavement from damage from daily wear and tear, vehicle traffic, and UV rays. Sealant provides a protective layer that helps preserve your driveway from the elements and other things.
It can be likened to painting an exterior wall after pressure washing it – once the surface is thoroughly cleaned, paint is the final touch, so to speak, and provides not only an aesthetically pleasing look but also a protective shield for the surface.
For the best protection for your concrete driveway, we recommend cleaning and sealing it once every couple of years.
How Long After Power Washing Before Sealing?
For best results and to ensure the sealant lasts as long as possible, you should wait 24-48 hours to seal your driveway after cleaning it. This allows sufficient time for the surface to fully dry. If water is trapped underneath the sealant, it could cause lifting and leave you with more work than is necessary.
How To Seal Concrete After Power Washing
One way to keep your concrete driveway, walkway, sidewalk, or walls looking good is to wash them and seal them every 2 to 3 years. A concrete sealer helps prevent water from creeping into the small pores and imperfections that lead to cracks and crumbling.
A sealer also helps prevent stains from setting in on the concrete. Sealing concrete after power washing is similar to painting walls in your house.
Step 1
Once you’re done with concrete driveway power washing, allow the concrete to dry completely before sealing. If possible, seal in the mid-morning or before the sun is directly over the concrete. This allows you to apply the sealer without it drying too quickly. A sealer that dries quickly often leaves behind unsightly streaks or lines.
Step 2
Open the bucket of sealer, and mix it thoroughly with a wooden paint stick. Screw the handle extension into the handle of the paint roller. Wrap the connection between the paint roller handle and the handle extension with duct tape to help ensure a tight fit.
Step 3
Slip a medium-nap roller onto the paint roller. A medium-nap roller often rolls better on concrete and evenly distributes the sealer even in the small pores and pockets of imperfections.
Step 4
Dip a paintbrush into the sealer, and scrape the inside of the container with the bristles to remove excess sealer. Paint the corners and edges of the concrete in a thin even layer with the paintbrush. Extend the sealer at least 6 inches from the corners. This helps to blend in the sealer with the roller later.
Step 5
Pour sealer into a standard paint tray. Load the roller with the sealer, using the ribs on the paint tray to remove excess sealer. The roller should be saturated but not dripping with sealer. Roll the sealer onto the concrete in a “W” fashion, just as you would when painting a wall. Be sure to cover the concrete completely, overlapping roller strokes to blend one coat with the next.
Step 6
Apply the sealer as near as possible to the corners with the roller, blending the fresh sealer over the area brushed earlier. Allow the sealer to dry completely, and apply a second coat if necessary.
Schedule Your Concrete Driveway Cleaning Today
When oil from a car leaks or microorganisms such as mold, mildew, bacteria, and other creatures attach themselves to your driveway, they can create havoc that you may not see. They have the potential to weaken your driveway for cracking and later dilapidation. Make sure you are power washing your driveway at least twice a year or more as necessary.
Concrete Driveway Power Washing
At RPW ProWash, we understand that you have a busy schedule with all your other responsibilities, and therefore, you may not find time to clean your driveway. Thankfully, we are fully equipped and ready to help you with this task to restore your driveway’s look.
Call us today at (779) 348-3135 or contact us online to get a FREE, No-Obligation Estimate and schedule your concrete driveway power washing service.


Leave a Reply
Want to join the discussion?Feel free to contribute!